
Customer Management
The Customer Management comprises the following options that are crucial to setting up and using the SALES Module:
Master Setting -
- Customer Maintenance
- Customer Account Group
- Customer/Product Account Group
- Customer Credit Class
- Customer Type Group
- Deposit Type
- Customer Territory
- Payment Mode
- Payment term
- Delivery Mode
- Delivery Term
- Warranty Term (please check)
- Selling Condition (Please check)
- Sales Control Account
- Unit of Measure (please check)
Customer Maintenance
The Customer Maintenance is the screen which stores all the Customer information. The customer code created in the Customer Maintenance is used to present all the transactions related to that individual Customer.
How to Create New Customer?
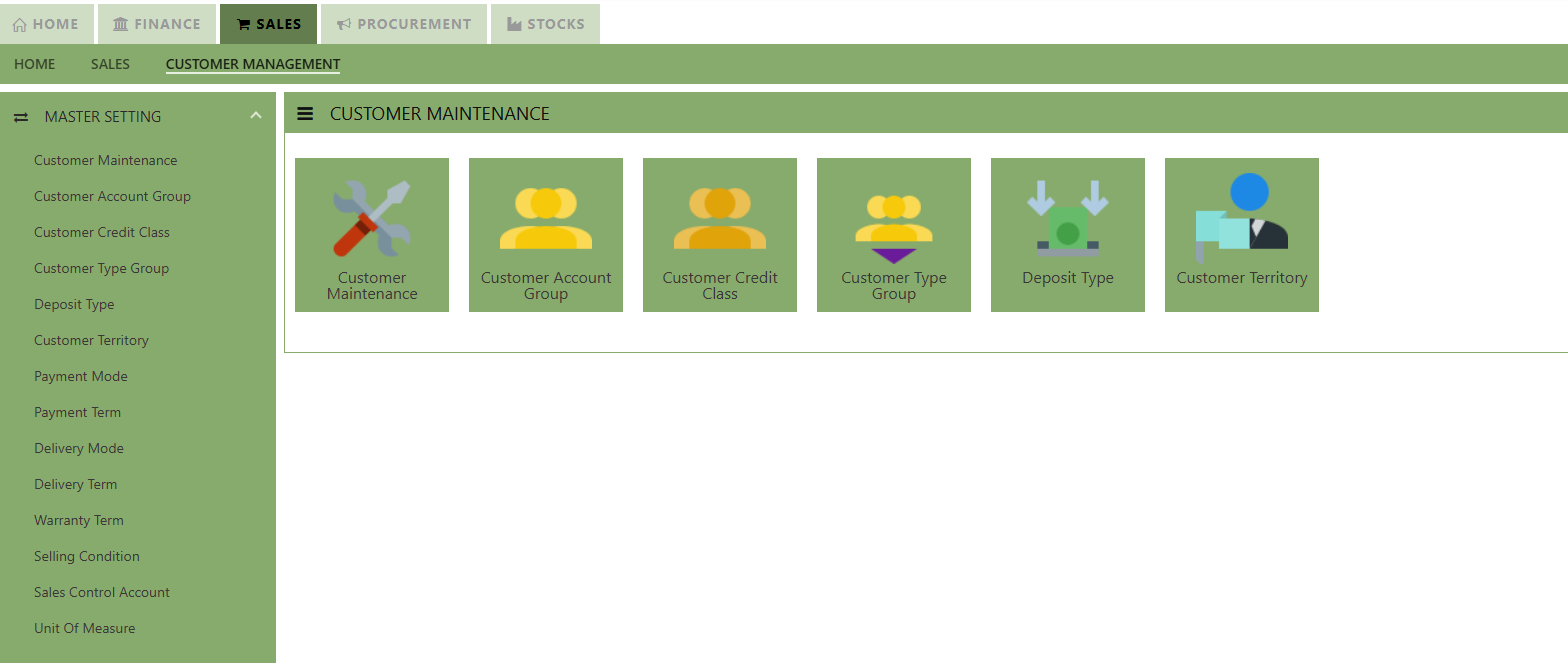
- Click on Sales – Customer Management – Master Setting – Customer Maintenance icon for the following screen.

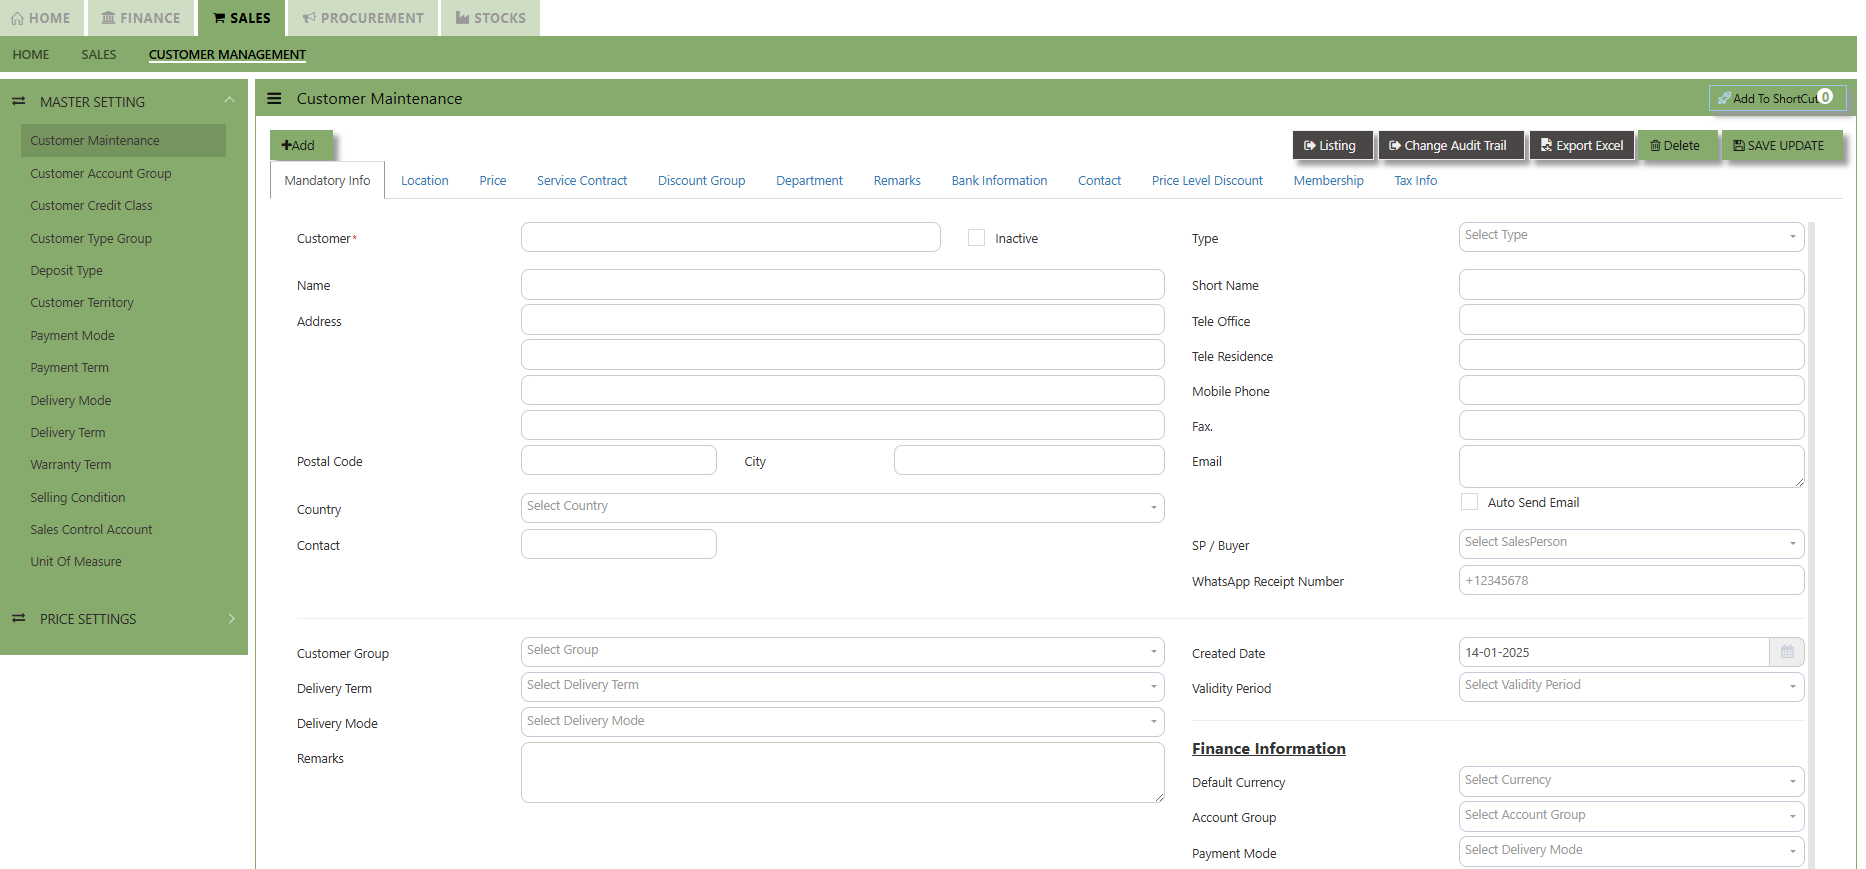
This is the place where you add new Customer or edit existing Customer. Some of the fields are mandatory, such
as the following :
- Customer - Enter the code for the new Customer. The maximum is 10 alphanumeric characters.
- Name - Enter the name of Customer. The maximum is 50 characters
- Key in the necessary Information, such as Address, Telephone, Fax, E-mail & etc.
- Type - Select C for Customer or B for both Customer & Supplier
- SP - Click to select the Salesperson defined under System Manager – System Utilities - Employee
- Credit Class - Click to select the credit class defined under Sales – Maintenance – Credit Class. This setting is for the reports under Receivable \ Aging Analysis by credit class (Transaction date / due Date)
- User - Click to select the user defined under System Manager – System Utilities - User Maintenance
This setting is to prevent a user from accessing customers and their information which belong to other users. - Territory - Click to select the credit class defined under Sales – Customer Management – Customer Territory
This setting is for the reports under Sales Module \ Sales Analysis Report \ Customer Territory Sales Analysis. - Price Type - You may decide on a pricing method for each and every Customer.
- Price Table (Sales/Last) - Every time a transaction is created for this Customer, the system will call out the selling price from the Customer Maintenance Price Table.
- Group Table (Last) - Every time an invoice is created for this Customer, the system will call out the selling price
from the Customer Maintenance Group Table (that is defined under Sales – Customer Management – Customer Type Group). This group assumes that all items in the group carry the same selling price. - Product Setting - Every time an invoice is created for this Customer, the system will display the selling price from the Product & Service Maintenance (Depends on the Price Type selected).
- List Price/Sales Promotion/Dealer/Retail - Every time a transaction is created for this Customer, the system will
display the selling price from the Product & Service Maintenance.
- Deliver Term - Click to select the Delivery Term defined under Sales – Customer Management – Delivery Term
Example: FOB - Free On Board
CIF - Carriage, Insurance & Freight - Delivery Mode - Click to select the Delivery Mode defined under Sales – Customer Management – Delivery Mode
Example: Truck, Flight, Self Collection - Payment Term - Click to select the Payment Mode defined under Sales – Customer Management – Payment Terms
Example: 30 Days, 60Days, COD (Cash on delivery) - Group - Click to select the Group defined under Sales – Customer Management – Customer Type Group
The group here is for the reports under Sales\Sales Analysis Reports\Customer Group wise Sales Analysis - Account Group - If the auto account posting is by Customer, then click to select the relevant Account Group defined under Sales – Customer Management – Customer Account Group
- Default Currency - Select the currency that this Customer normally transacts in.
Location - Create different delivery locations for this Customer
Price - Records the history of selling prices for this Customer if the price type (price table) is selected
Important: Our system does not allow duplicate customer codes in Customer Maintenance, so before creating the coding for Customer Maintenance, please double check and make sure that there are no duplicates. As guidance for creating Customer codes, one example is “CA0001” for A2000 Pte Ltd.; “C” stands for Customer and “A” is the starting alphabet for the Customer name.
Customer Groups
This option lets you indicate the Customer Group if you intend to use reports that sort or filter by Customer Group (Optional).
How to Setup Customer Type Group?
- Click on Sales – Customer Management – Customer Type Group icon for the following screen
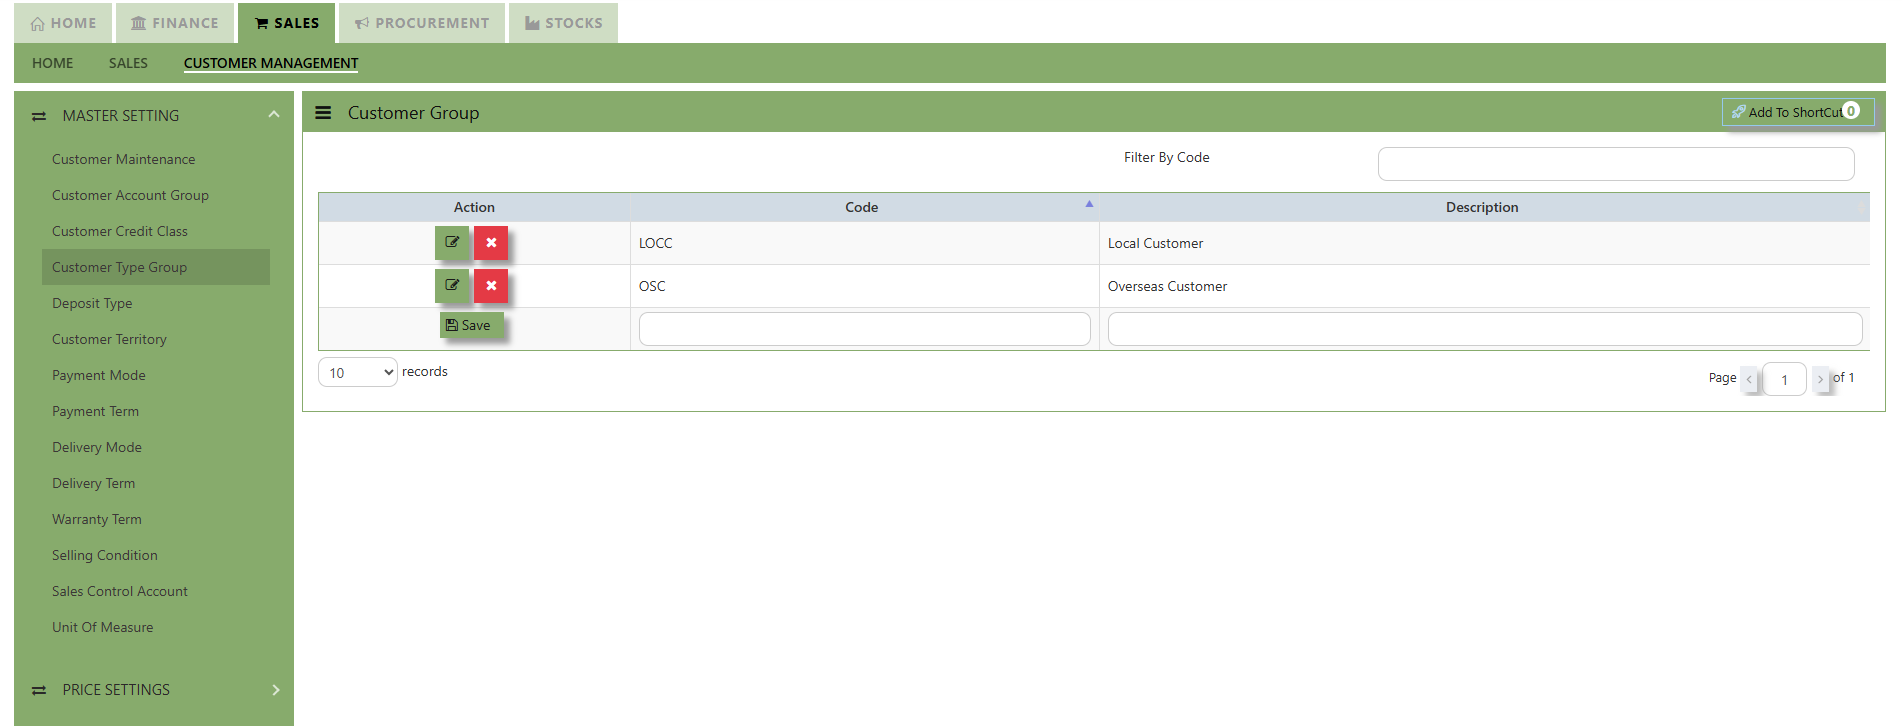
- Enter Customer Groups as shown in above example.
Note: If you did not use this grouping method for reporting, please ignore the options.
Customer Account Groups
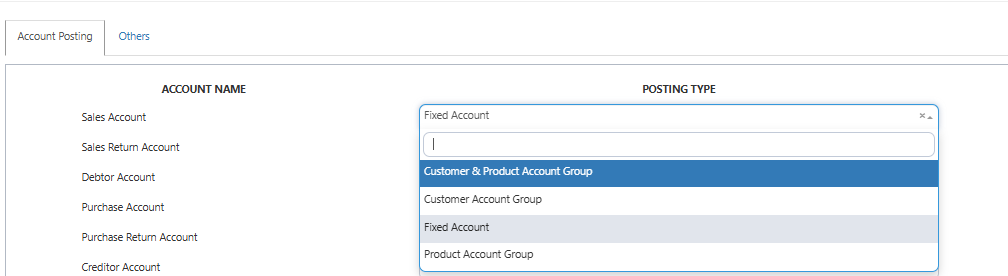
The Customer Account Group is used for auto posting function when the user creates Sales Transaction. Unlike other systems that are hard-coded, A2000 WEB ERP allows the accounts posting to be organized according to the users’ requirements through their own Customer Account Groups.
You can create different groups and set the account posting to be by
“Customer Group” if you need:
Exp: Trade Debtor A/C by Customer
Sales A/C by Customer
Discount A/C by Customer
Cost of Sales A/C by Customer
How to Setup Customer A/C Group?
- Click on Sales – Customer Management – Customer Account Group icon for the following screen.
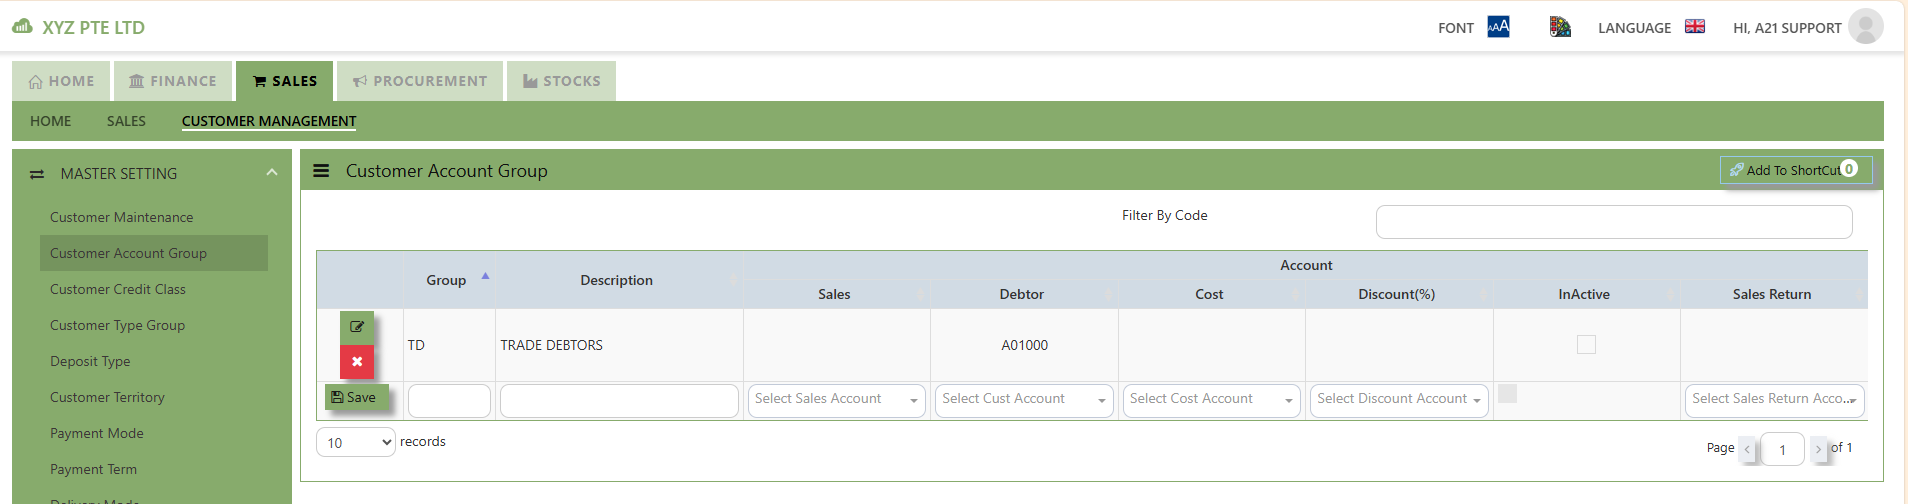
- Enter the Code & Description Name for Customer Account Group. After setting the codes and names, the user can map the GL Chart of Account code for “Trade Debtor A/C”, “Sales A/C”, “Discount A/C” & “Cost A/C”.

Note: If you did not use for this posting method, please ignore the options.
Payment Terms
This is where you indicate the Customer Payment Terms for Customers and Suppliers. The payment terms set for individual customers and suppliers are for the buckets in the Statement of Account & Aging reports.
How to add Payment Terms?
- Click on Sales – Customer Management – Payment Terms icon for the following screen.
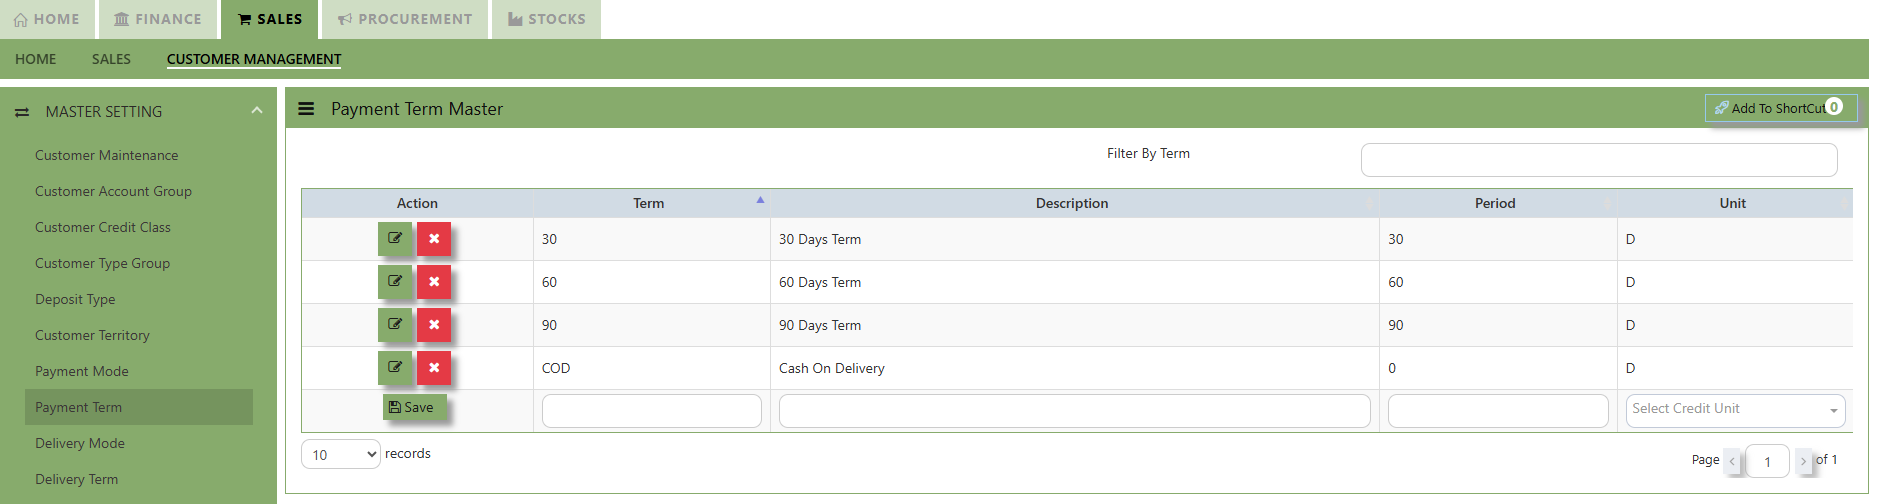
- Enter the above Terms of Payment as shown above. For more flexible settings, user can indicate the Payment Terms according to the report needed.
Exp: Add 7 Days, 45 days or 120 days…etc.
Note: If you did not set the payment terms, you can not select the terms for individual customers and the system
will be unable to generate accurate Statement of Account & Aging reports.
Payment Modes
This is where you indicate the Customer Payment Mode at Customer Maintenance for information purpose (Optional).
How to Create Payment Mode?
- Click on Sales – Customer Management – Payment Mode icon for the following screen.

- Enter the Modes of Payment as shown in the example above. For more flexible settings, it will be part of the Advanced Training.
Note: If you do not use this information for, please ignore the options.
Territory
This is where you create the Customer Territories if you intend to use reports that sort or filter by Customer Territories (Optional).
How to Create Territories?
- Click on Sales – Customer Management – Customer Territory icon for the following screen.

- Enter the Customer Territories as shown in the example above. For more flexible settings, user can indicate the Customer Territories according to the report needed. It will be part of the Advanced Training.

Note: If you did not use the grouping method for report sorting, please ignore the options.
Delivery Mode
This is where you indicate the Customer Delivery Mode in the Customer Maintenance or Transactions for information purpose if you intend to use reports that sort or filter by Delivery Mode.
How to Create Delivery Mode?
- Click on Sales – Customer Management – Delivery Mode icon for the following screen.
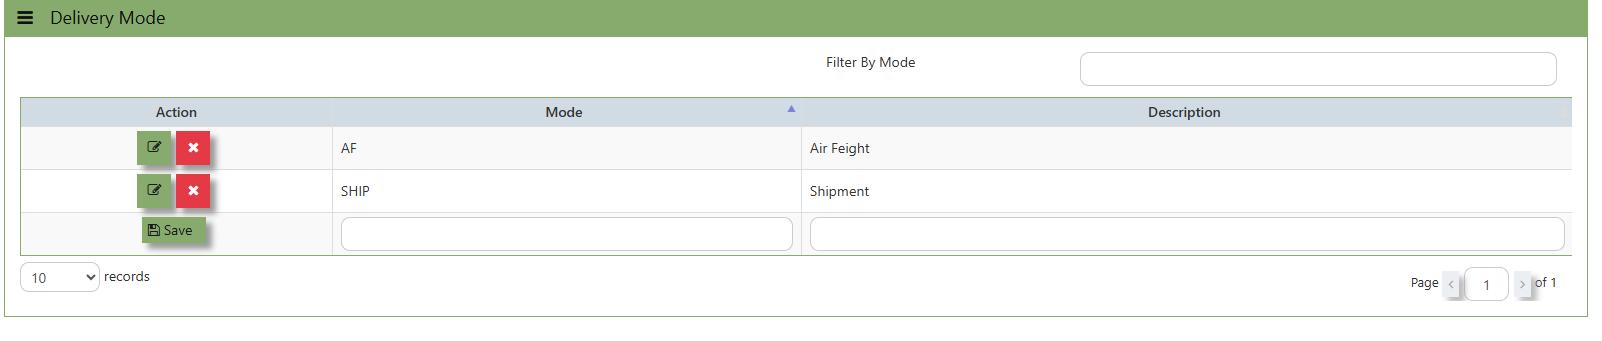
- Enter the above Modes of Delivery as shown above. For more flexible settings, user can indicate the Delivery Mode according to the information needed.
- Exp: Lorry Numbers or Driver Names…etc.
- Exp: Lorry Numbers or Driver Names…etc.
Note: If you do not use the entire information for transaction info and report sorting, please ignore the options.
Delivery Term
This is where you indicate the Customer Delivery Term in the Customer Maintenance or Transactions for information purpose to define the conditions and responsibilities for shipping goods.
How to Create Delivery Term?
- Click to select the Delivery Term defined under Sales – Customer Management – Delivery Term
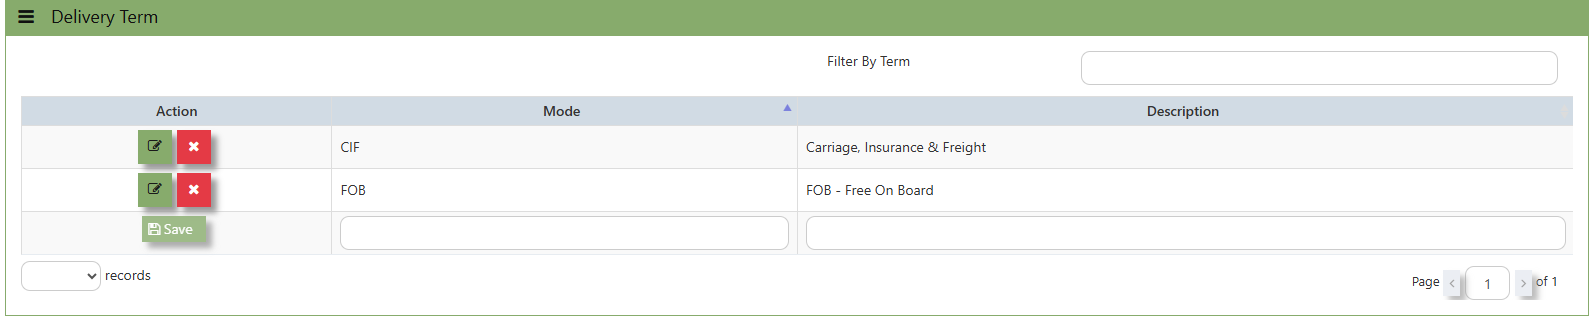
- Enter the above Term of Delivery as shown above. For more flexible settings, user can indicate the Delivery Term according to the information needed.
- Example: FOB - Free On Board
CIF - Carriage, Insurance & Freight
- Example: FOB - Free On Board

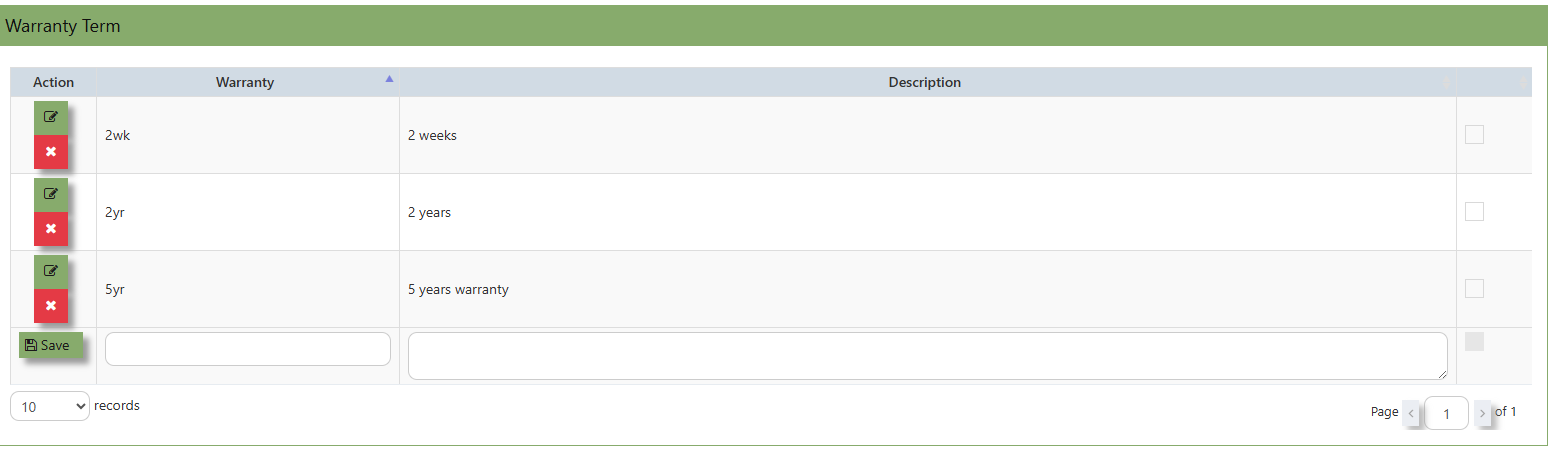
Warranty Term
In Uniq 365, this is the place where you indicate the Customer Warranty Terms if you intend to use it in Customer Sales Invoice (Optional)

How to Create Warranty Terms?
- Click on Sales – Customer Management – Warranty Terms icon for the following screen.

- Enter the Warranty Terms as shown in the above example. For more flexible settings, user can enter the Warranty Code & Description according to what their company can identify with.
Note: If you did not use the entire work flow for Sales Operations, please ignore the Options.
Selling Condition
In Uniq 365, this is the place where you indicate the Selling Condition if you intend to use it in Customer Sales Invoice as below:-(Optional)
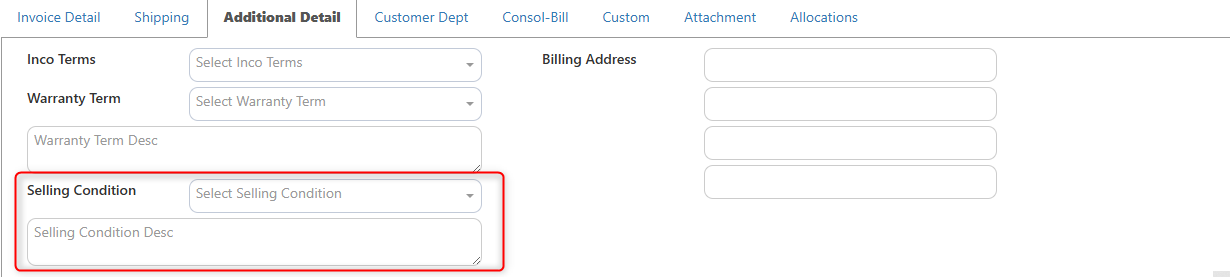
How to Create Selling Condition?
- Click on Sales – Customer Management – Selling Condition icon for the following screen.